
Note: This element and this article are work in progress.
The ThemeWare® "Image gallery (Grid)" is a variant of the "Image gallery" from Shopware. In this element, the product images are displayed in a grid or one below the other (as a scroller).
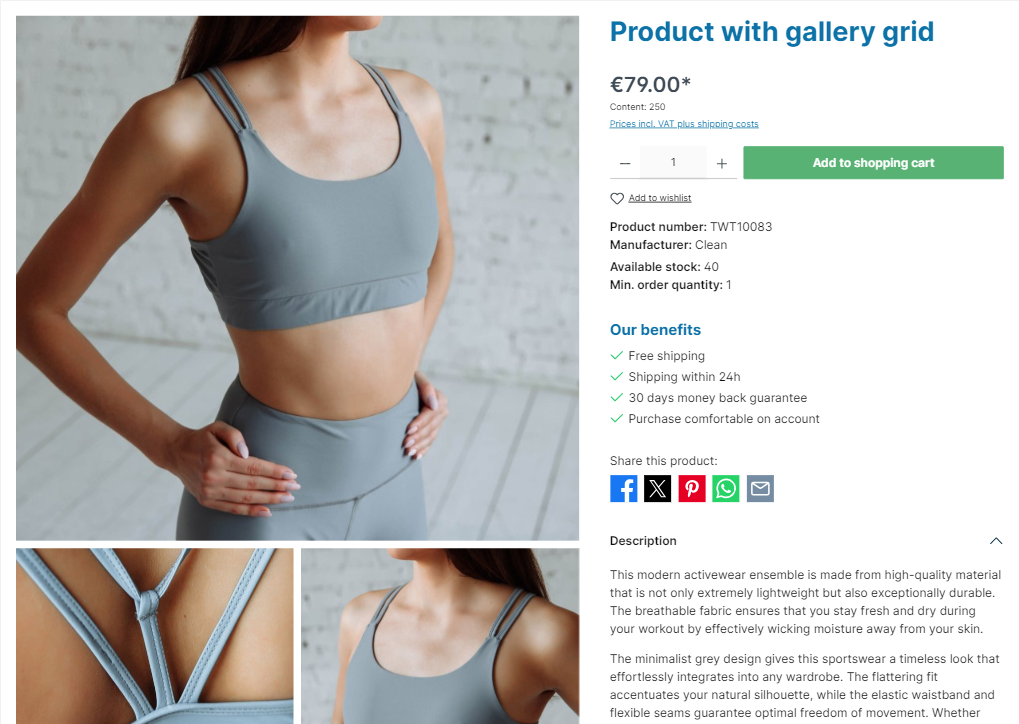
ThemeWare® CMS extension "Image gallery (Grid)"
Note: This CMS element has no individual CMS block. Simply replace a "Image gallery" element in an existing CMS block.
Beta: This feature is currently in beta and may change in a future release. – We'd love to hear your feedback.
Important: This element is only available in the ThemeWare® Pro Edition.
Add element (replacing the "Image gallery" element)
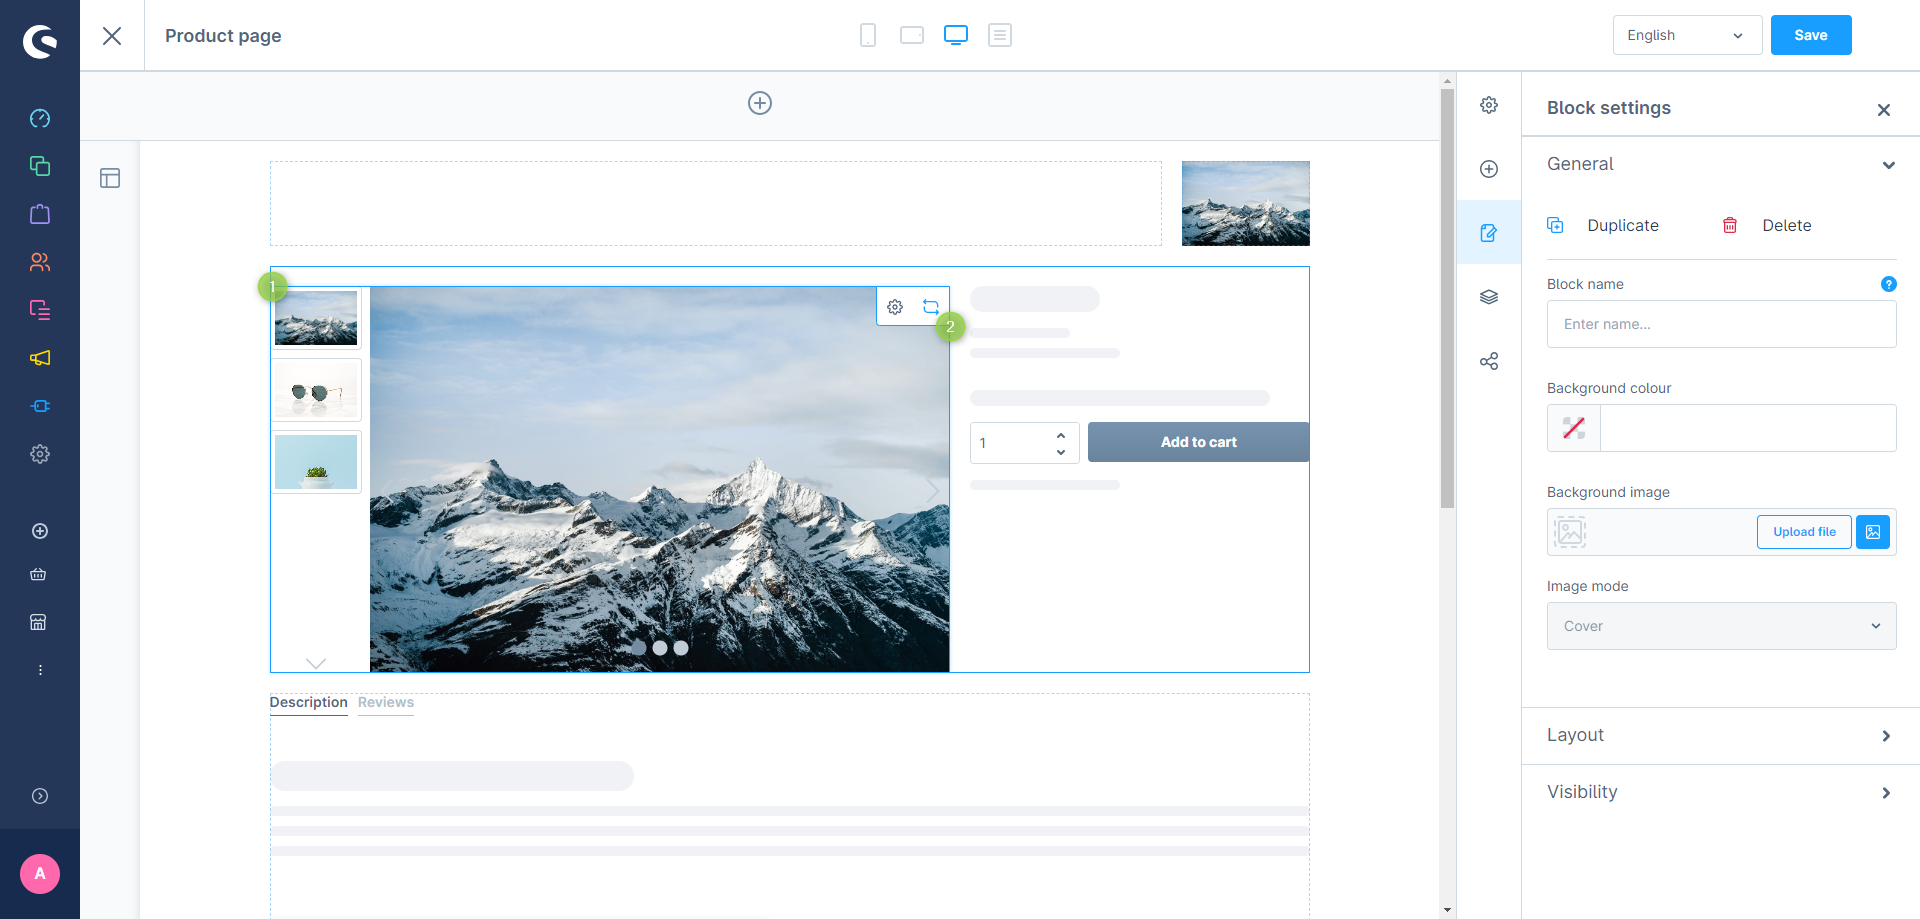
You can use the ThemeWare® "Image gallery (Grid)" by replacing an existing "Image gallery":
- Move the mouse over the CMS block (1)
- Click on the
 "Replace" icon (2)
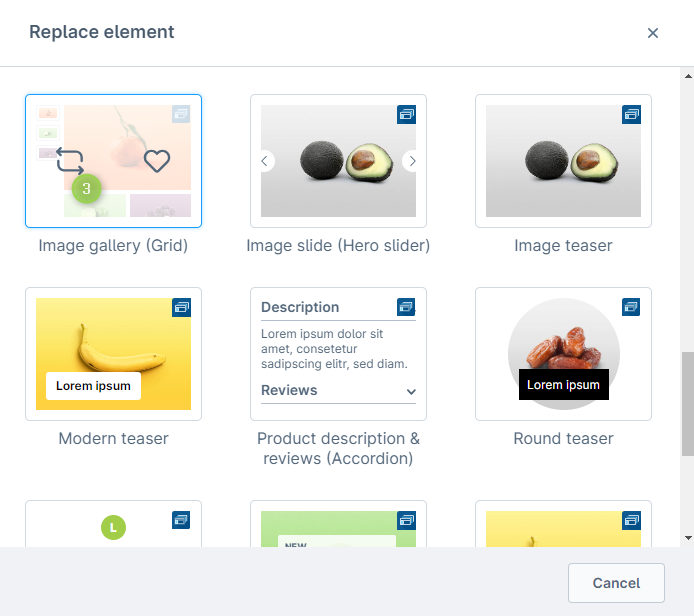
 - The pop-up "Select element" opens
- Select the desired CMS element (3)
Configure element
You can configure the ThemeWare® "Image gallery (Grid)" as follows:
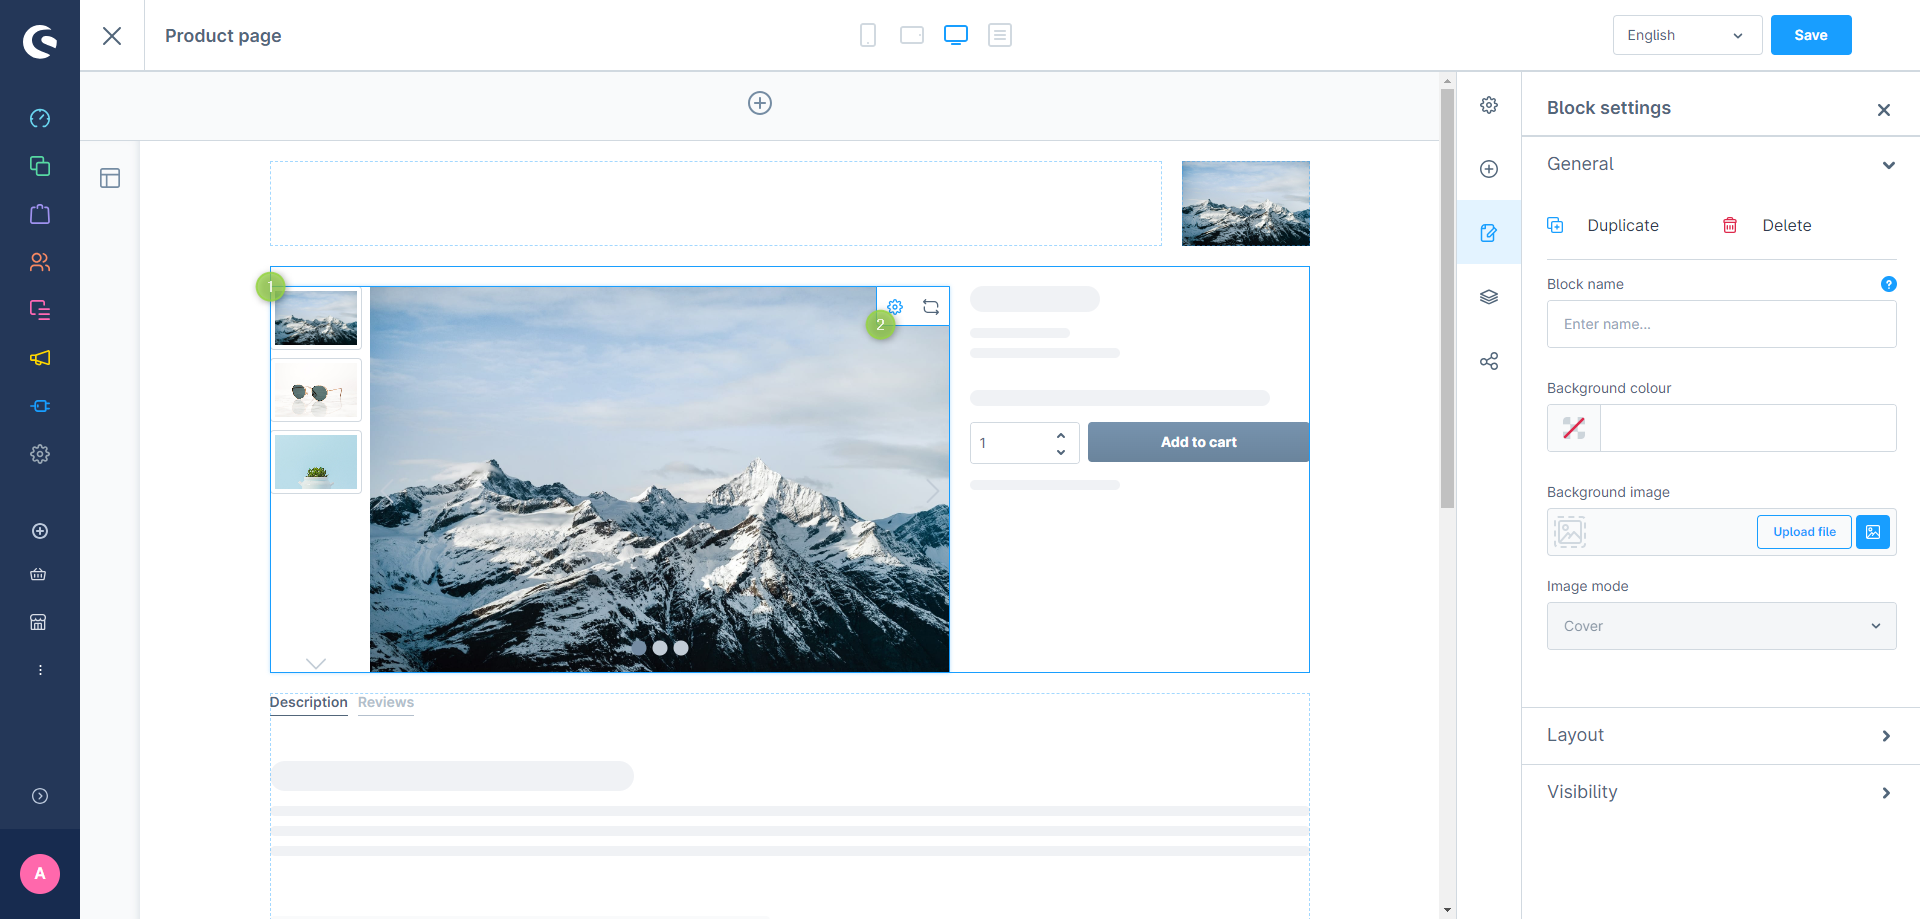
- Click on the corresponding CMS block (1) to activate the "edit mode"
- Hover the mouse over the desired CMS element
- Click on the
 "gear" icon (2) to configure the CMS element
 - The "Element Settings" pop-up will open
- Make the desired changes
- Save your changes
You have now configured the CMS element.
Configuring the ThemeWare® "Image gallery (Grid)"
Configuration
The configuration of the "Image gallery (Grid)" is fairly self-explanatory. The gallery images are a mandatory field. Strictly speaking, you do not need to configure anything else.
General
In the "General" tab you configure the images and the display of the gallery.
Gallery
In the "Gallery" section you select the images to be displayed in the gallery. This is a mandatory field. You can also configure the display mode, the minimum height (default:
430px, for the mobile gallery slider), the minimum height (>=992px) (for the grid from desktop) and the vertical alignment.
Layout
In the "Layout" tab you configure the grid layout and the gallery navigation.
General
In the "General" section you can select the layout type. Three layouts are available: "Images stacked", "Images stacked (1x 100%, rest 50%)" and "Images stacked (all 50%)".
Gallery slider
In the "Gallery slider" section you can configure the arrow navigation, the dot navigation and the preview navigation of the mobile gallery slider.
Gallery grid (>=992px)
In the "Gallery grid" section you can show or hide the preview navigation of the gallery grid (from desktop). You can also activate the fullscreen gallery.
Examples
ThemeWare® CMS extension "Image gallery (Grid)"
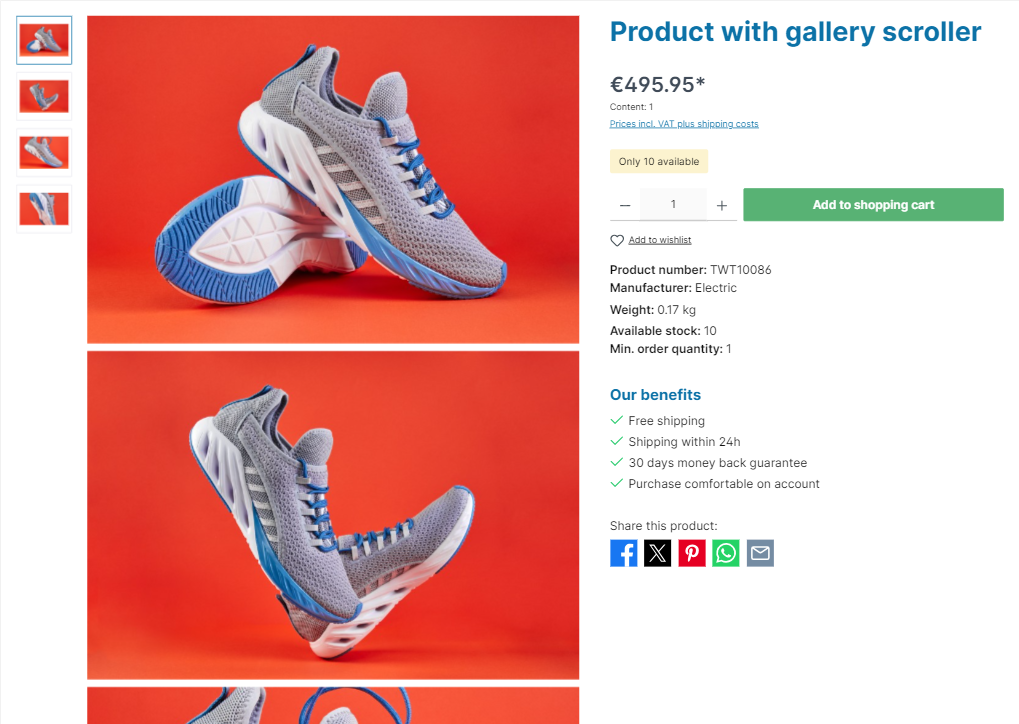
ThemeWare® CMS extension "Image gallery (Grid)" (as a gallery scroller)